
For some time I’ve been debating the idea of sharing a bit of the “behind the curtain” of how Signal Stuff as a company and Signal Sticks as a product work; there are a lot of reasons for and against the idea, but my hope is that by adding some clarity around my business it will add some value to the Ham Radio community:
Who is Signal Stuff?
First, while I often use the term “we” when I talk about Signal Stuff in order to make it feel more like a company — for the most part, Signal Stuff is actually a single person. Specifically, my name is Richard Bateman, KD7BBC.
Now don’t get me wrong — it’s not important to know that because you need to know much about me specifically, but I do want people to realize that in order to understand that it is possible to create a company in the ham radio industry with a small group or a single person.
Legally speaking, Signal Stuff is actually HamStudy.org LLC — however, the HamStudy name needs to be agnostic in terms of products and distributors, so we came up with Signal Stuff and the other names (Super-Elastic Signal Stick) somewhat grew naturally out of that.
There have been many other people who have volunteered time to help me, for a time I hired someone to help with shipping and customer service, and in general I often consider Signal Stuff to be supported by a lot of people, but I think often people look at Signal Stuff and think it’s a big company — it isn’t =] If I go on a family vacation I have to put up a note that shipments will be delayed because they run out of my basement :-)
Building Signal Sticks
Okay, enough about the boring stuff. I had someone ask me recently if Signal Sticks were really “hand made” as is claimed in our marketing materials, so let me show you a bit about how it works! The paranoid part of me is worried that I’ll lose business by doing this — what if people realize they could do it themselves? But really the basic design is one that has been known for a long time — it’s just a quarter wave “piano wire” antenna.
I should also mention that I no longer do all of this myself — I have hired a local assembly shop who makes most of the black antennas and I mostly do just the colored ones since those are harder to order with enough advance notice to have them done externally. That said, they use the same parts and steps, so this all still applies =]
Step one: Apply heat shrink
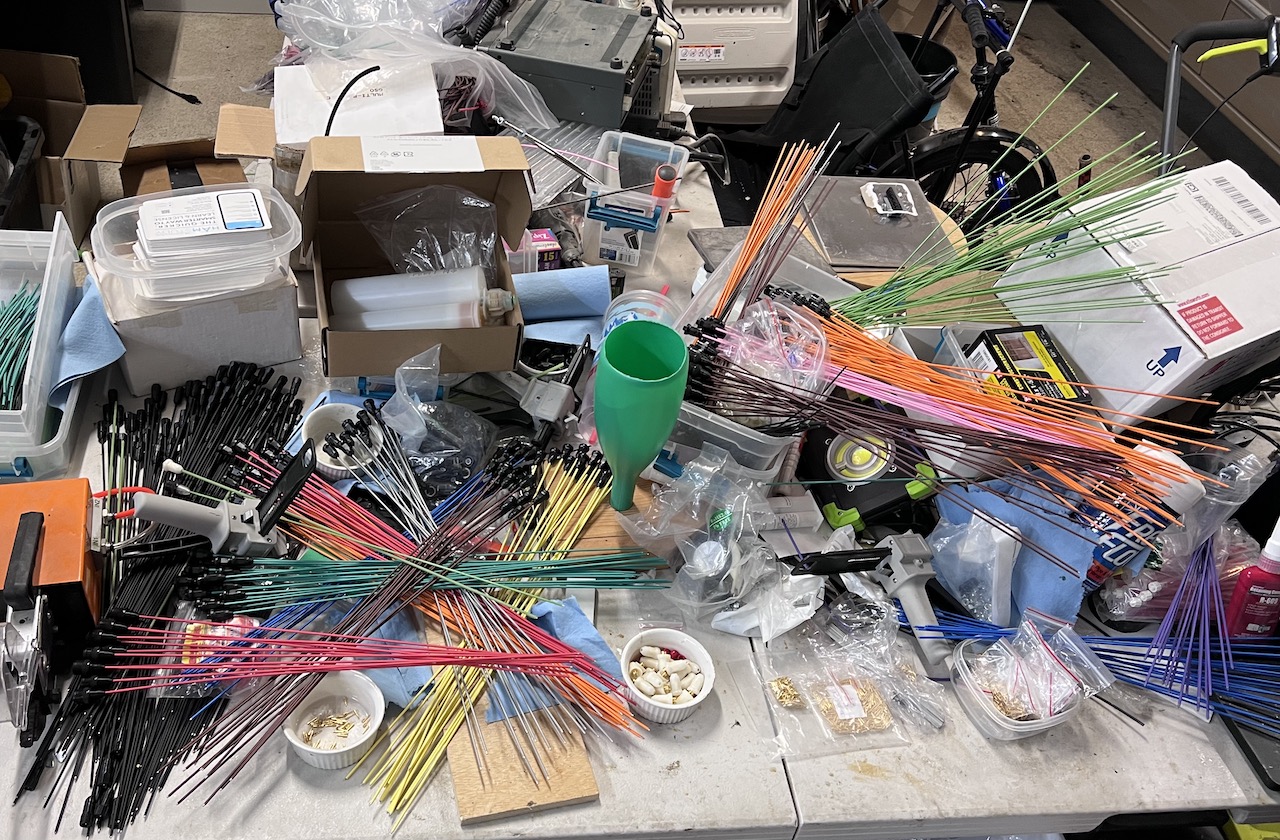
One of the most interesting things about building these is that while making one isn’t hard, it gets a whole lot harder when you are making hundreds of them. The first year I sold these online I think I sold about 300 antennas — which was huge, I couldn’t believe I sold so many. In the first three quarters of 2022 I have sold almost 10,000 antennas — that is a *lot* of antennas to make without special machines.
The wire is purchased pre-cut and specially treated so that the adhesive will bond better. Care has to be taken to ensure that oils from our skin doesn’t get on the wrong part of the wire, otherwise the adhesive may fail and the antenna will need to be replaced.
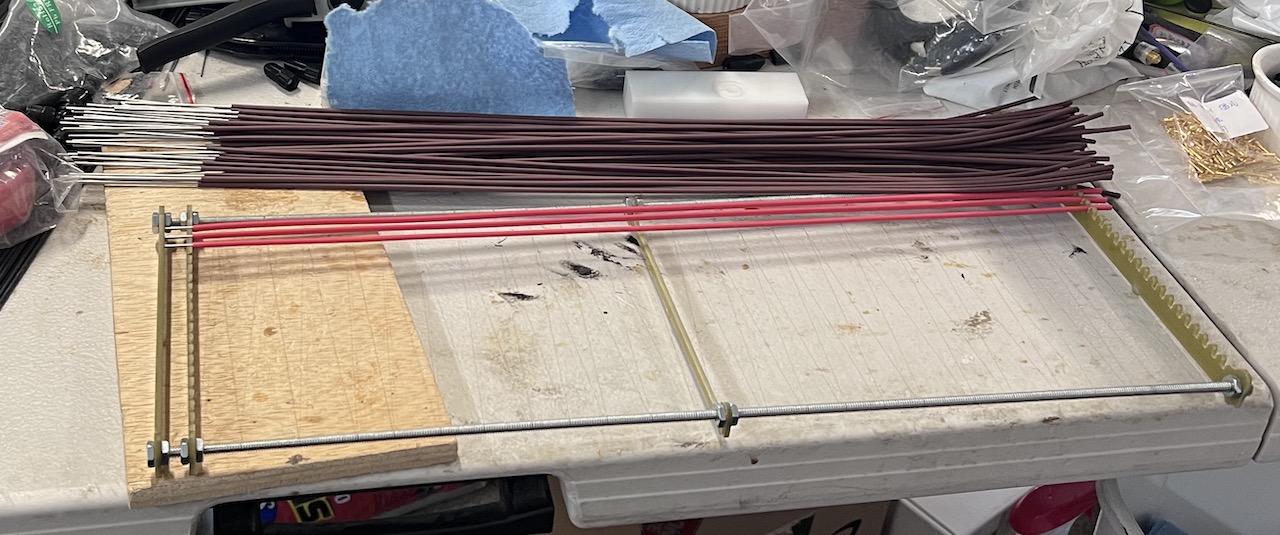
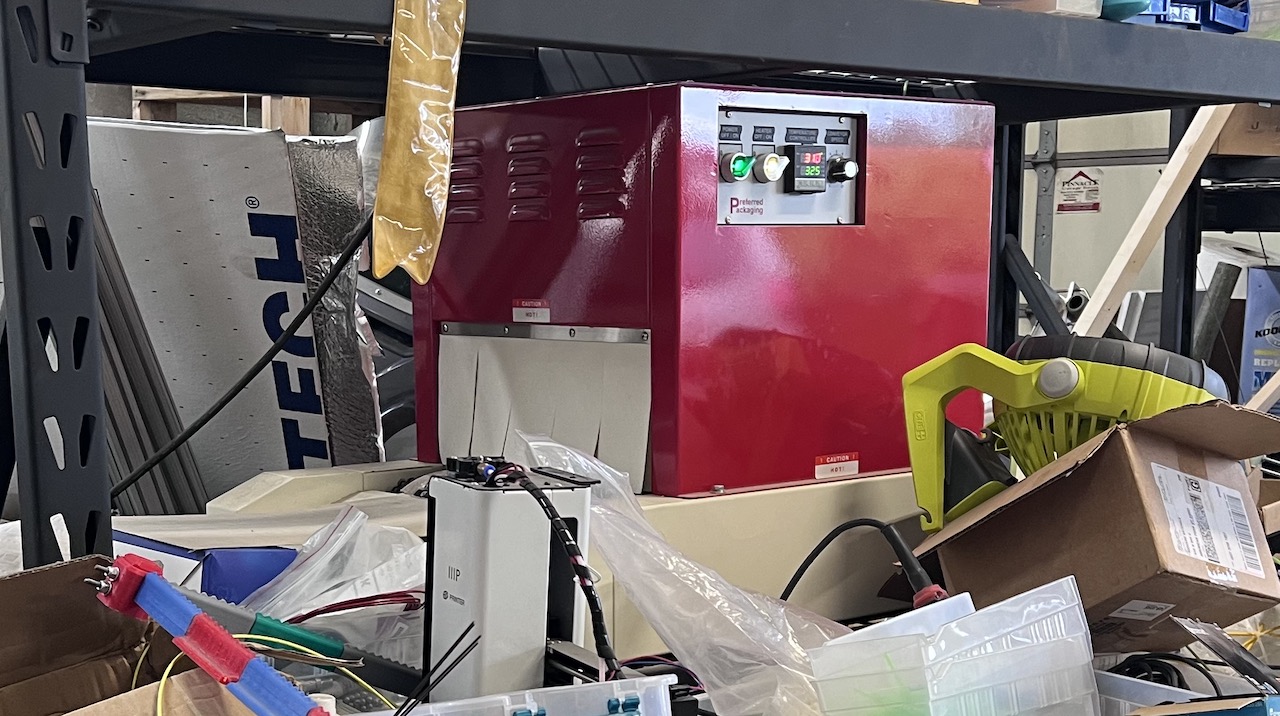
In the picture above you can see one of the custom heat shrink trays that I designed and made — I designed it in Fusion360, milled the parts on my CNC machine, and then assembled. Each one holds 20 antennas and it has to be able to handle 325°F. It would take *way* too long to apply the heat shrink using a heat gun (believe me, we used to do it all the time and it was … painful. sometimes literally…), so a few years ago I purchased a heat shrink tunnel such as is used for shrink wrapping products.
The trays hold the wire with the heat shrink and keep the shrink far enough back that the adhesive can still bond to the wire, rather than just to the heat shrink. The heat shrink itself is custom ordered (I had to buy over 60KM of heat shrink to manage that…) to be thicker and tougher than the stuff you’d normally buy at a store. I have a heat shrink cutter that I had to buy to cut the shrink to the correct length. We learned an important lesson about safety one year when my oldest son cut about 1/4″ of his pointer finger off and we had to go get it stitched back on at the ER on Christmas Day…. so if you ever get one, always turn it off when loading or unloading *PLEASE*.
Step two: Clean up heat shrink
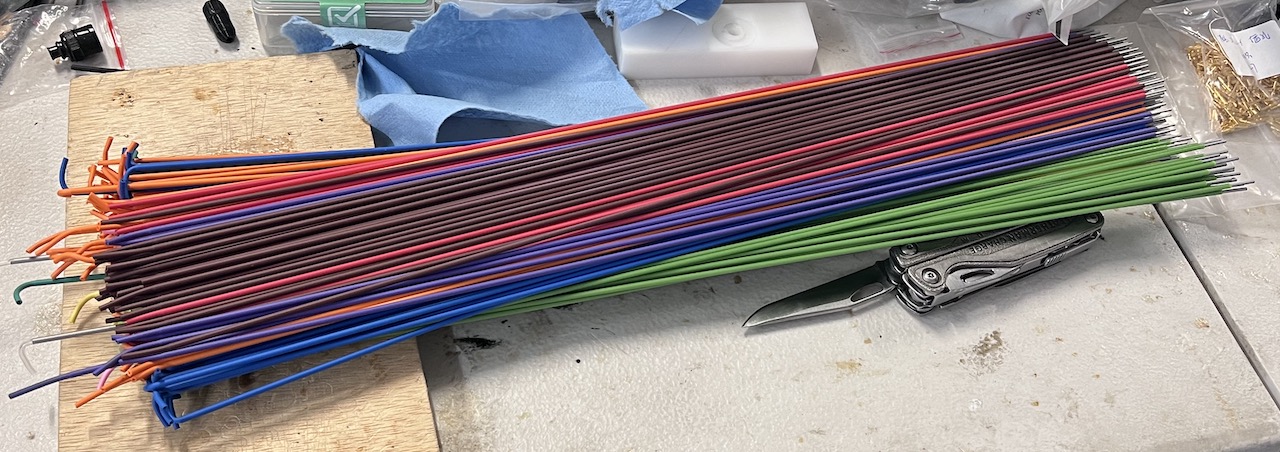
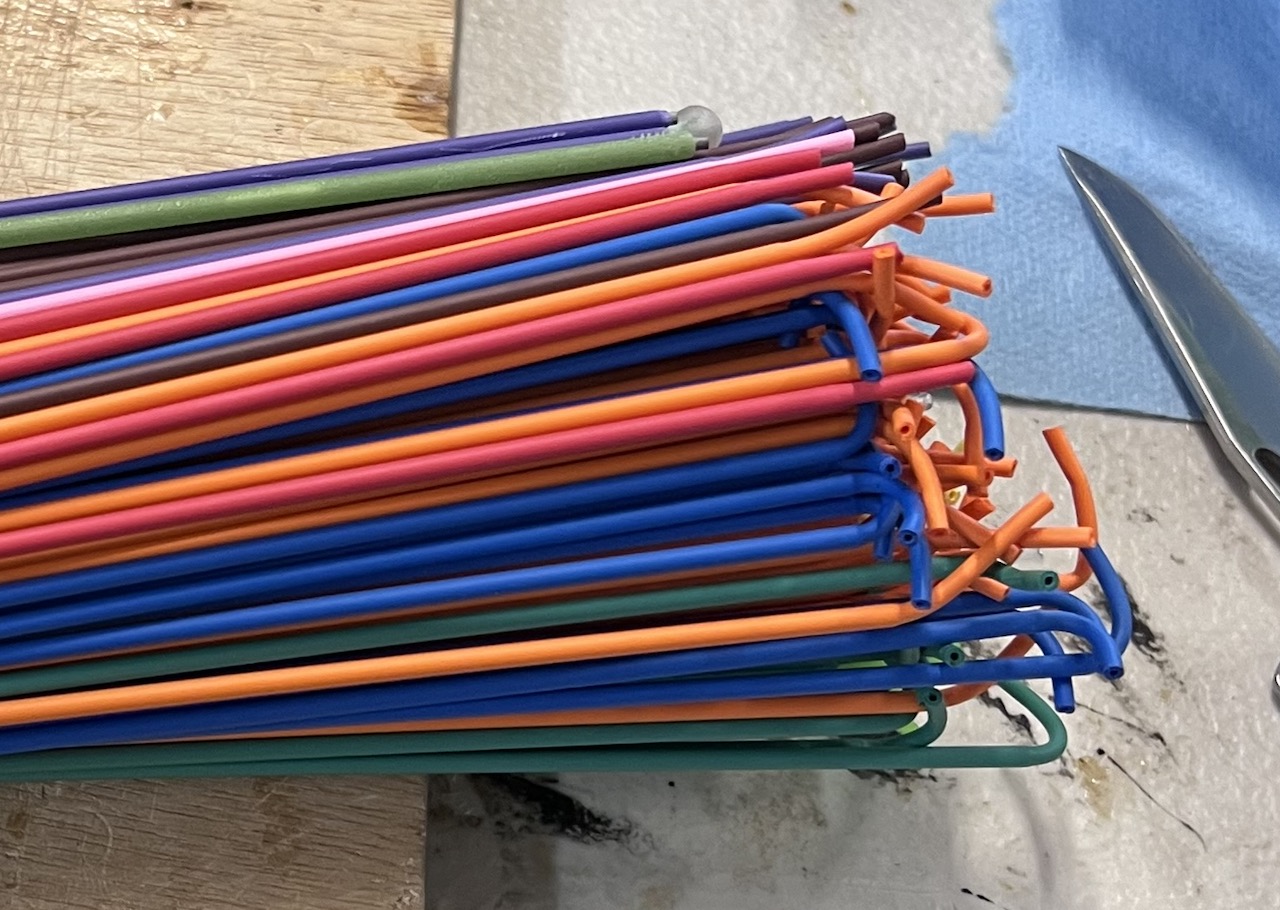
After shrinking them the wires have heat shrink sticking off the end; you might naturally think that one could just figure out the correct length so that doesn’t happen, but in practice there is too much variance in the rate of expansion for that to be viable. Instead it needs to be trimmed off the end — and if we don’t want the tip to come off easily then there needs to be a little bit of wire exposed so that the adhesive can bond to it.
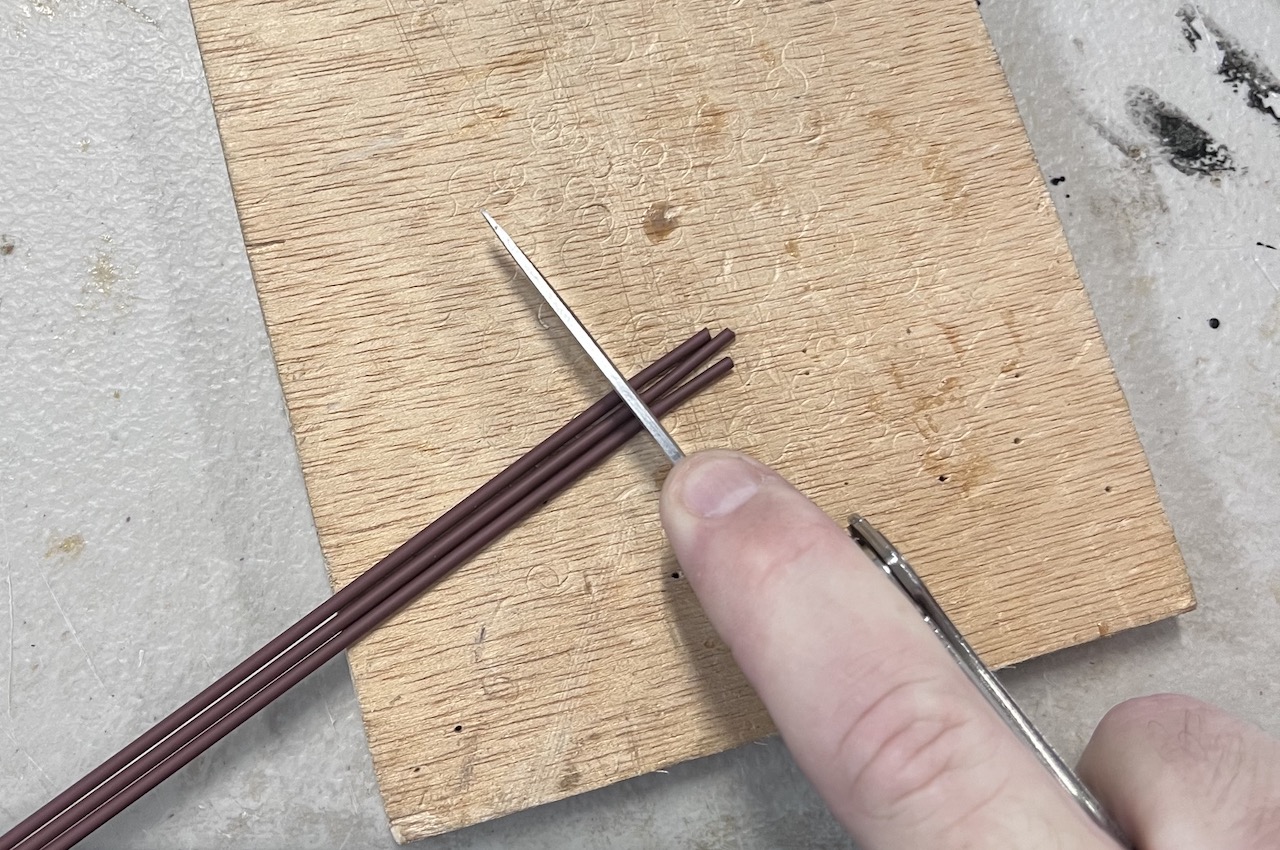
This is one of the first steps where you wouldn’t expect there would be all that much skill involved, but after doing literally thousands of these I find I’m able to trim 3-6 at a time where most people end up just doing one or maybe two at a time. You would think that using a razor/utility knife would work better but I find my leatherman to be the best tool for the job — which is convenient, since I always carry it. I have found that I can do this step faster than any other person I’ve trained, so when time is tight this is one of the steps I do myself even when I have help.
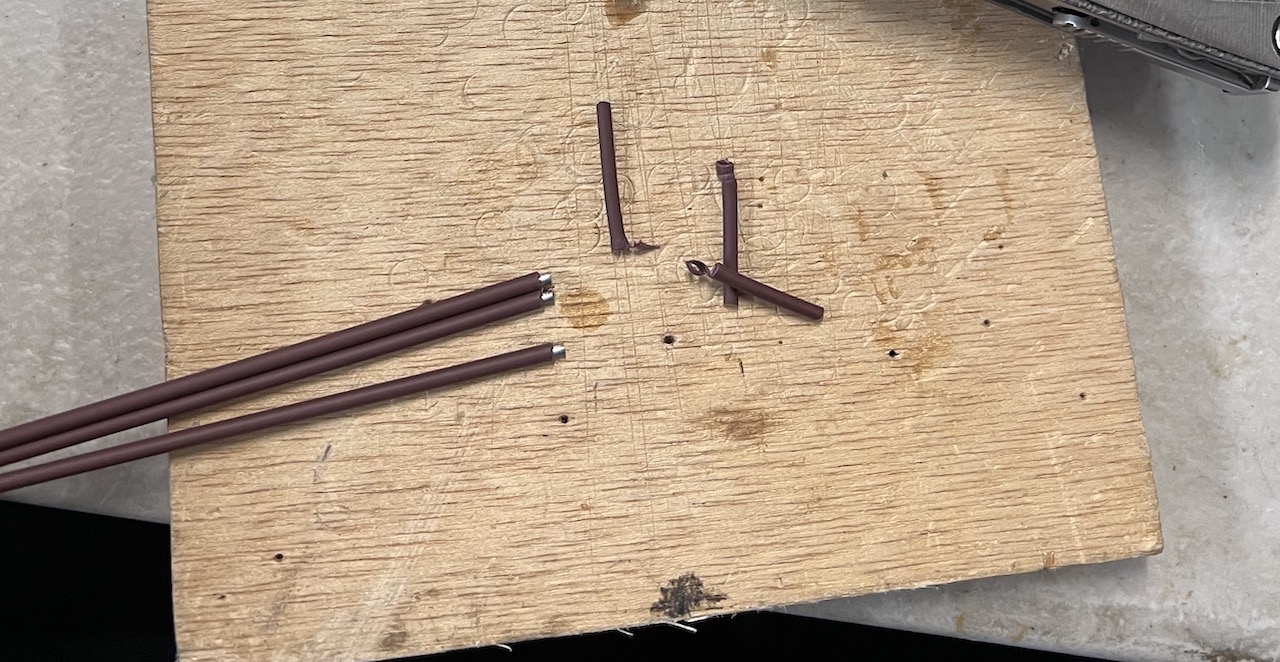
This doesn’t look all that hard, but keep in mind that with this particular build I didn’t need to just trim three of them — I was out of stock on a number of different colors and styles, so I was building about 400 antennas that day.
Step three: Install the center pins
I have tried a lot of different ways to install the center pins over the years — crimping, soldering, wire glue, …. but soldering takes too long and wire glue is not effective enough. Finally I ended up getting custom connectors made which allow me to crimp them all with the same tool, which has made things much simpler.

Here is another step where one isn’t a big deal, but have you ever sat down and tried to crimp RF connector pins onto 400 wires? These days I use a pneumatic crimp tool, but it’s still definitely a time consuming process. There are of course different pins for each connector type, plus two different sizes of wire because I use smaller wire for both 440 and 220 monoband.
Step four: Prepare and then install the connectors
The connectors that I use originally were just regular RF connectors for coax which happened to fit the wire size I needed, but at this point they have been customized to better fit the plastic covers I designed for them and also to use the same parts for both sizes of wire. While I realize it’s generally taboo to discuss financial details on an open post like this, my last order for connectors and adapters I had to split into two payments because the processor I used could not send more than $20,000 per day. It’s a weird feeling when your orders get into that range and you’re still building these in your garage….
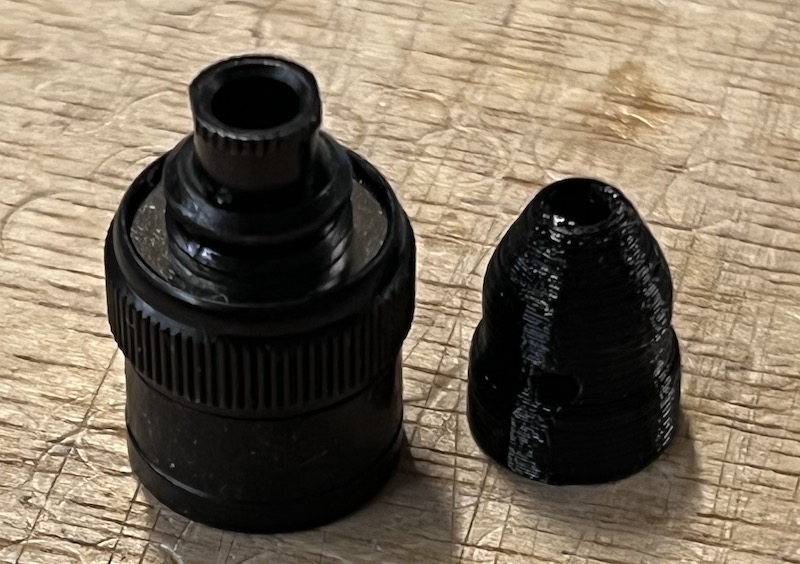
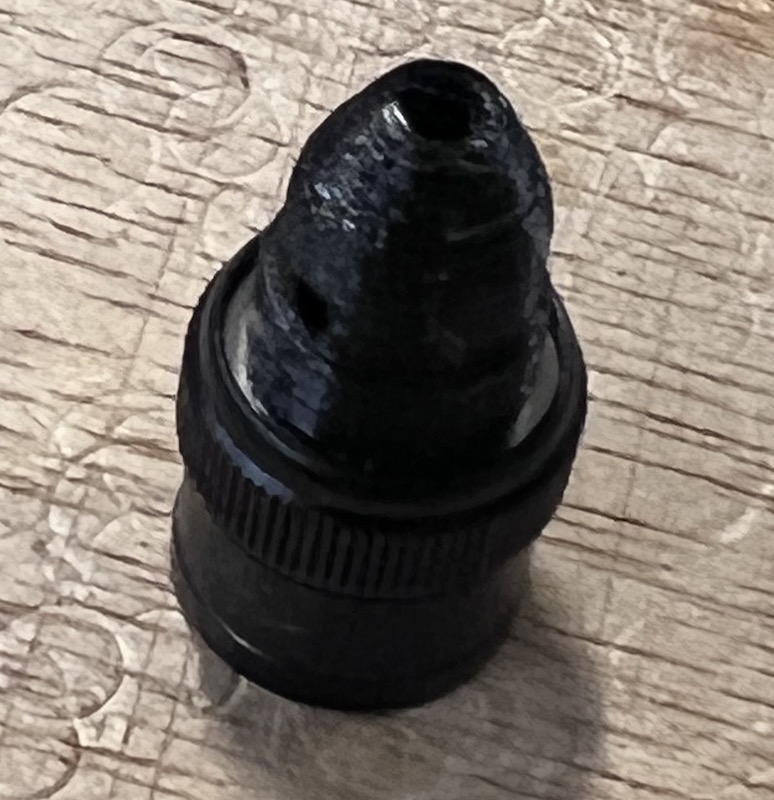
This is two steps in one because before putting the connector on the antenna you first need to install what I call the “glue cap”. The glue caps have gone through more iterations than any other part of this process — when I bought my first 3d printer back in … 2017, I think? … I immediately realized that I needed a way to justify the purchase. (that’s the healthy order to do things in, right?). One of my brainstorms — and likely the single most impactful brainstorm of my life — was that perhaps I could use them to make it easier to build antennas. That single thing completely revolutionized my antennas.

The purpose of the glue cap is to hold the adhesive (technically not glue =]) in place while it cures (not dries…) so that it will bond to the correct parts of the antenna to make things come together. Every glue cap for every signal stick ever sold with a 3d printed cap was printed on one of my 3d printers in my basement. That said, I expect by the end of 2022 I will be making all the antennas using injection molded parts — they look better, are easier to use, and while the total cost will probably exceed $20K to make all the molds I have finally decided it’s time to just do it.
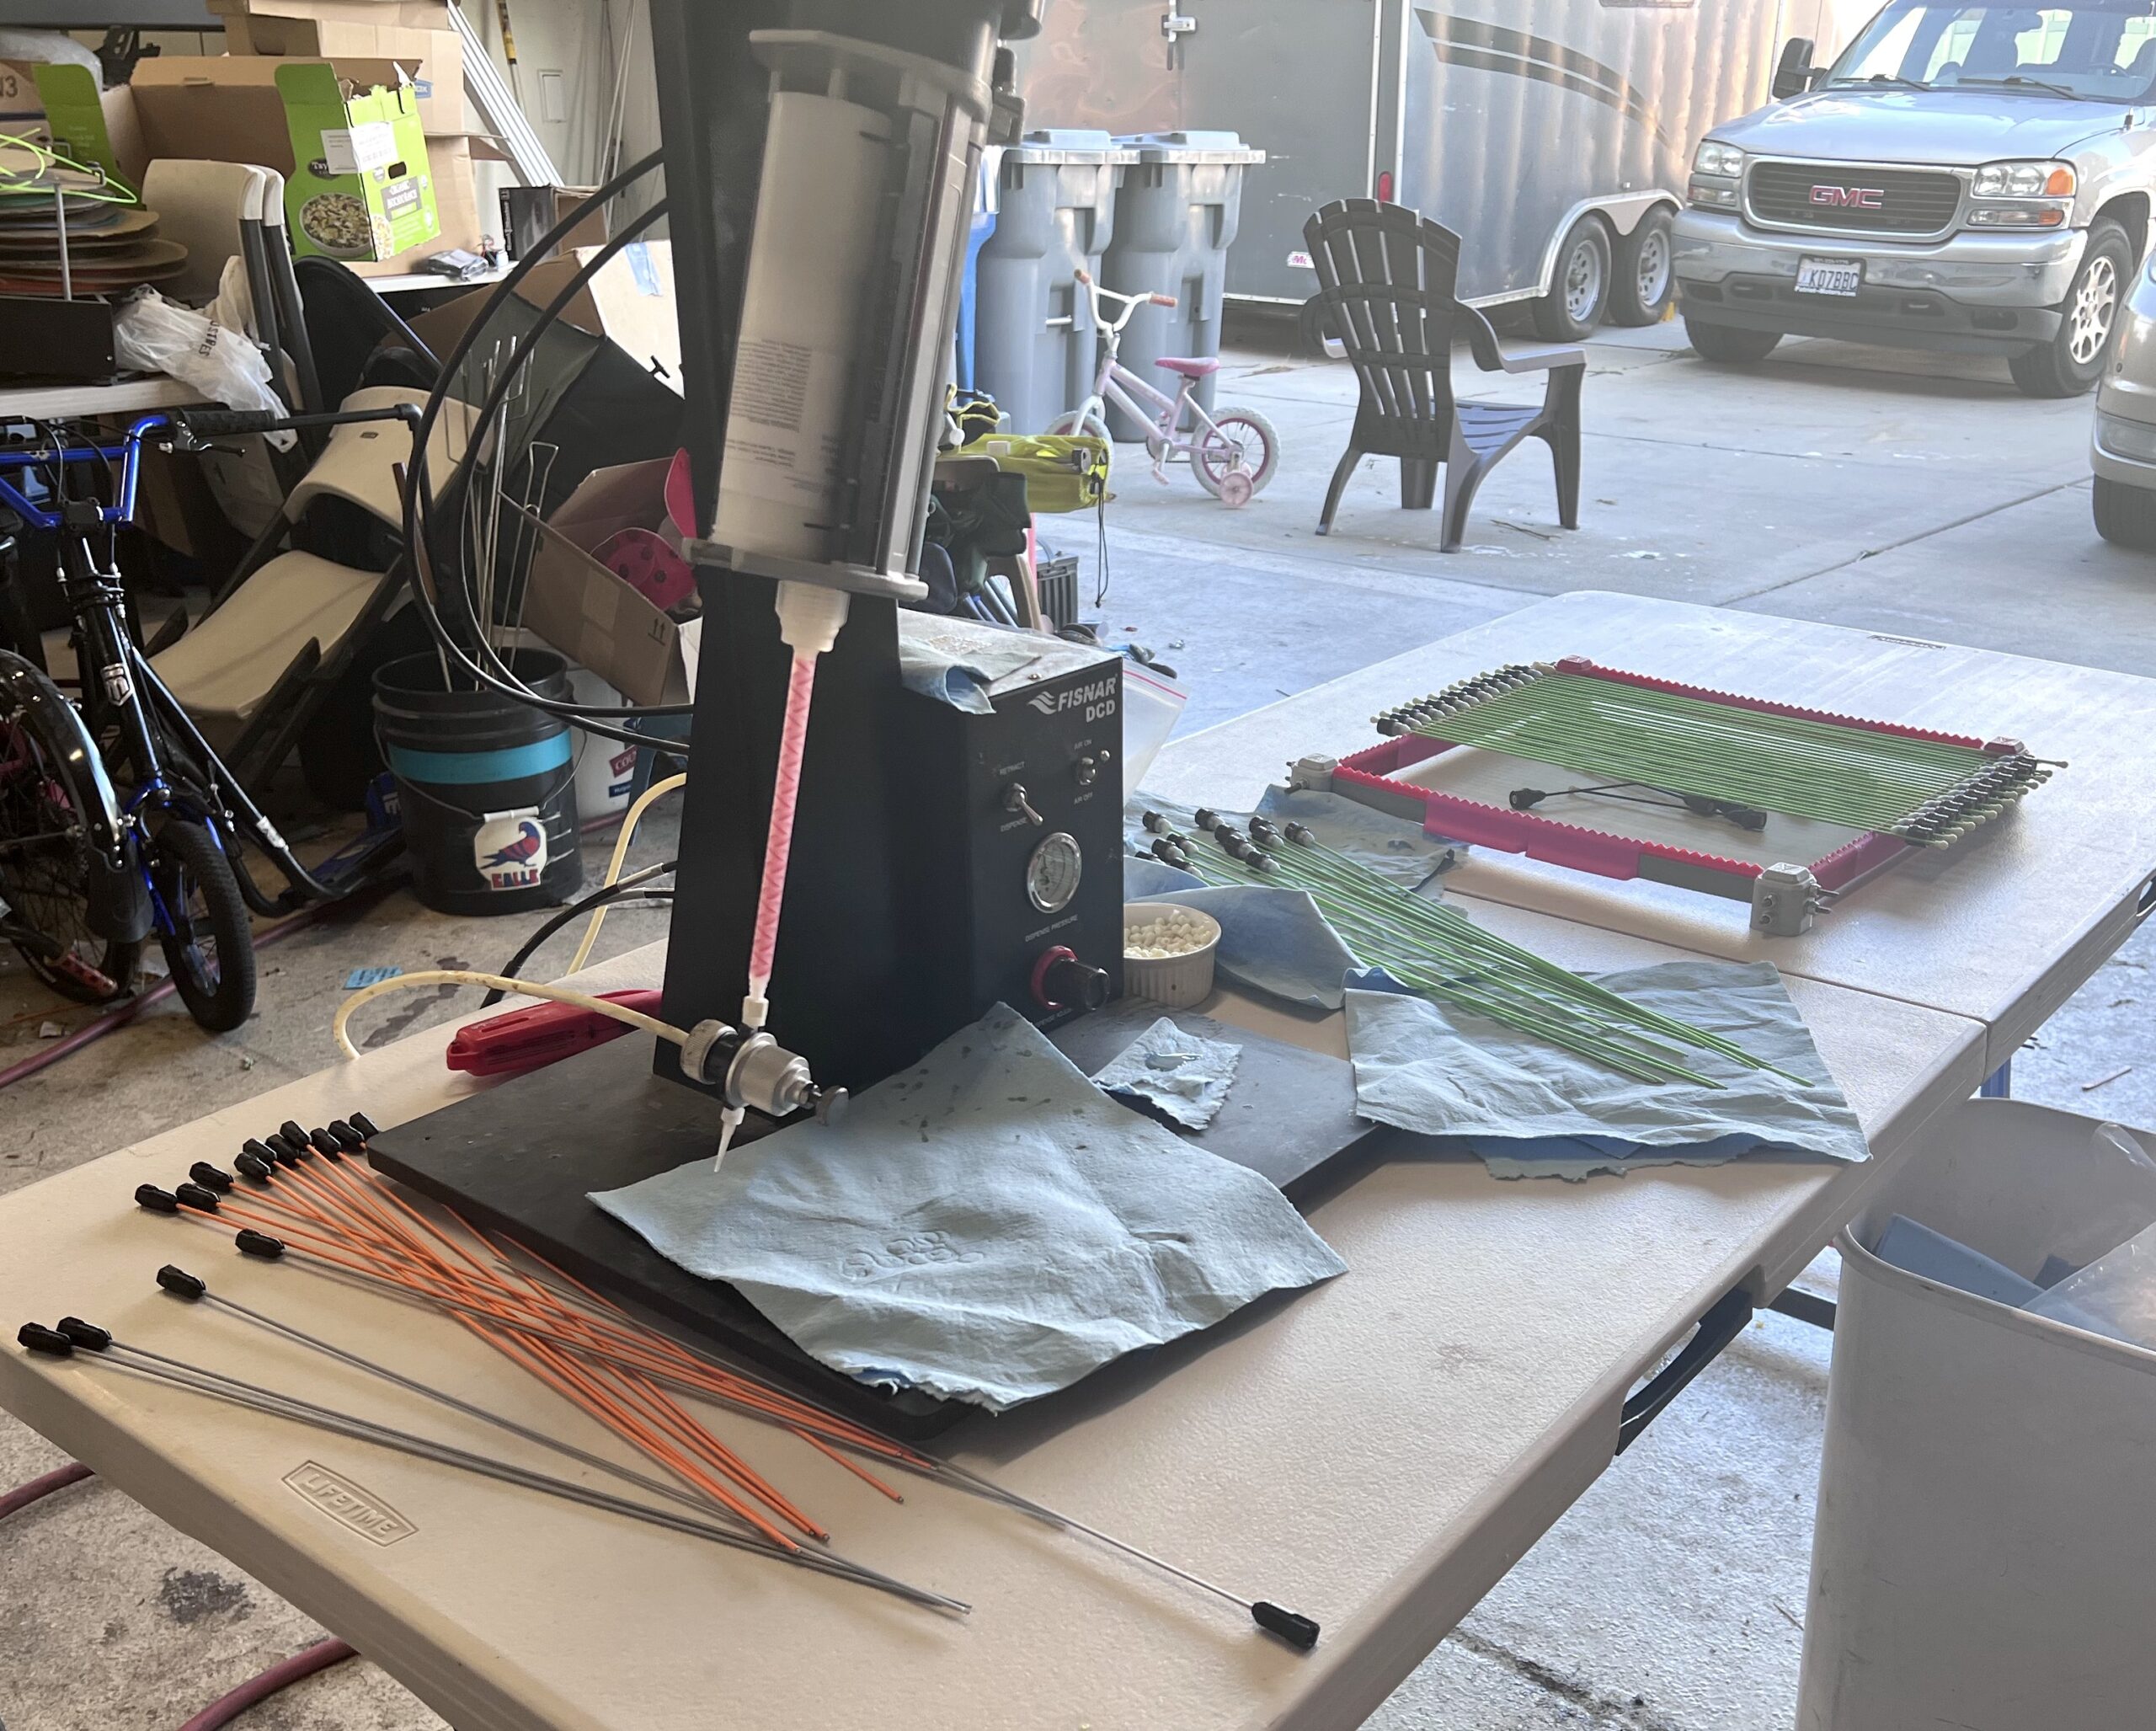
Final step: Apply the adhesive
At this point they are technically usable, but they will also come apart if you pull on the wire much at all. The final step is to inject a 2-part adhesive into the hole on the side of the connector. We used to mix the adhesive is a small cup and use popsicle sticks to apply it before sliding the cap on, but that required a lot of skill to get right and we still had a lot more manufacturing defects. This leaves a slightly unsightly hole on the side, but it is more reliable — and that has always been the overriding goal for me.
This is the final step and it is both the most important and also the most difficult to do correctly. If you get too much adhesive in then you have to clean it off — and if it somehow gets onto the threads that might not be possible. If there are any issues and you don’t catch them during this step they cannot be fixed.
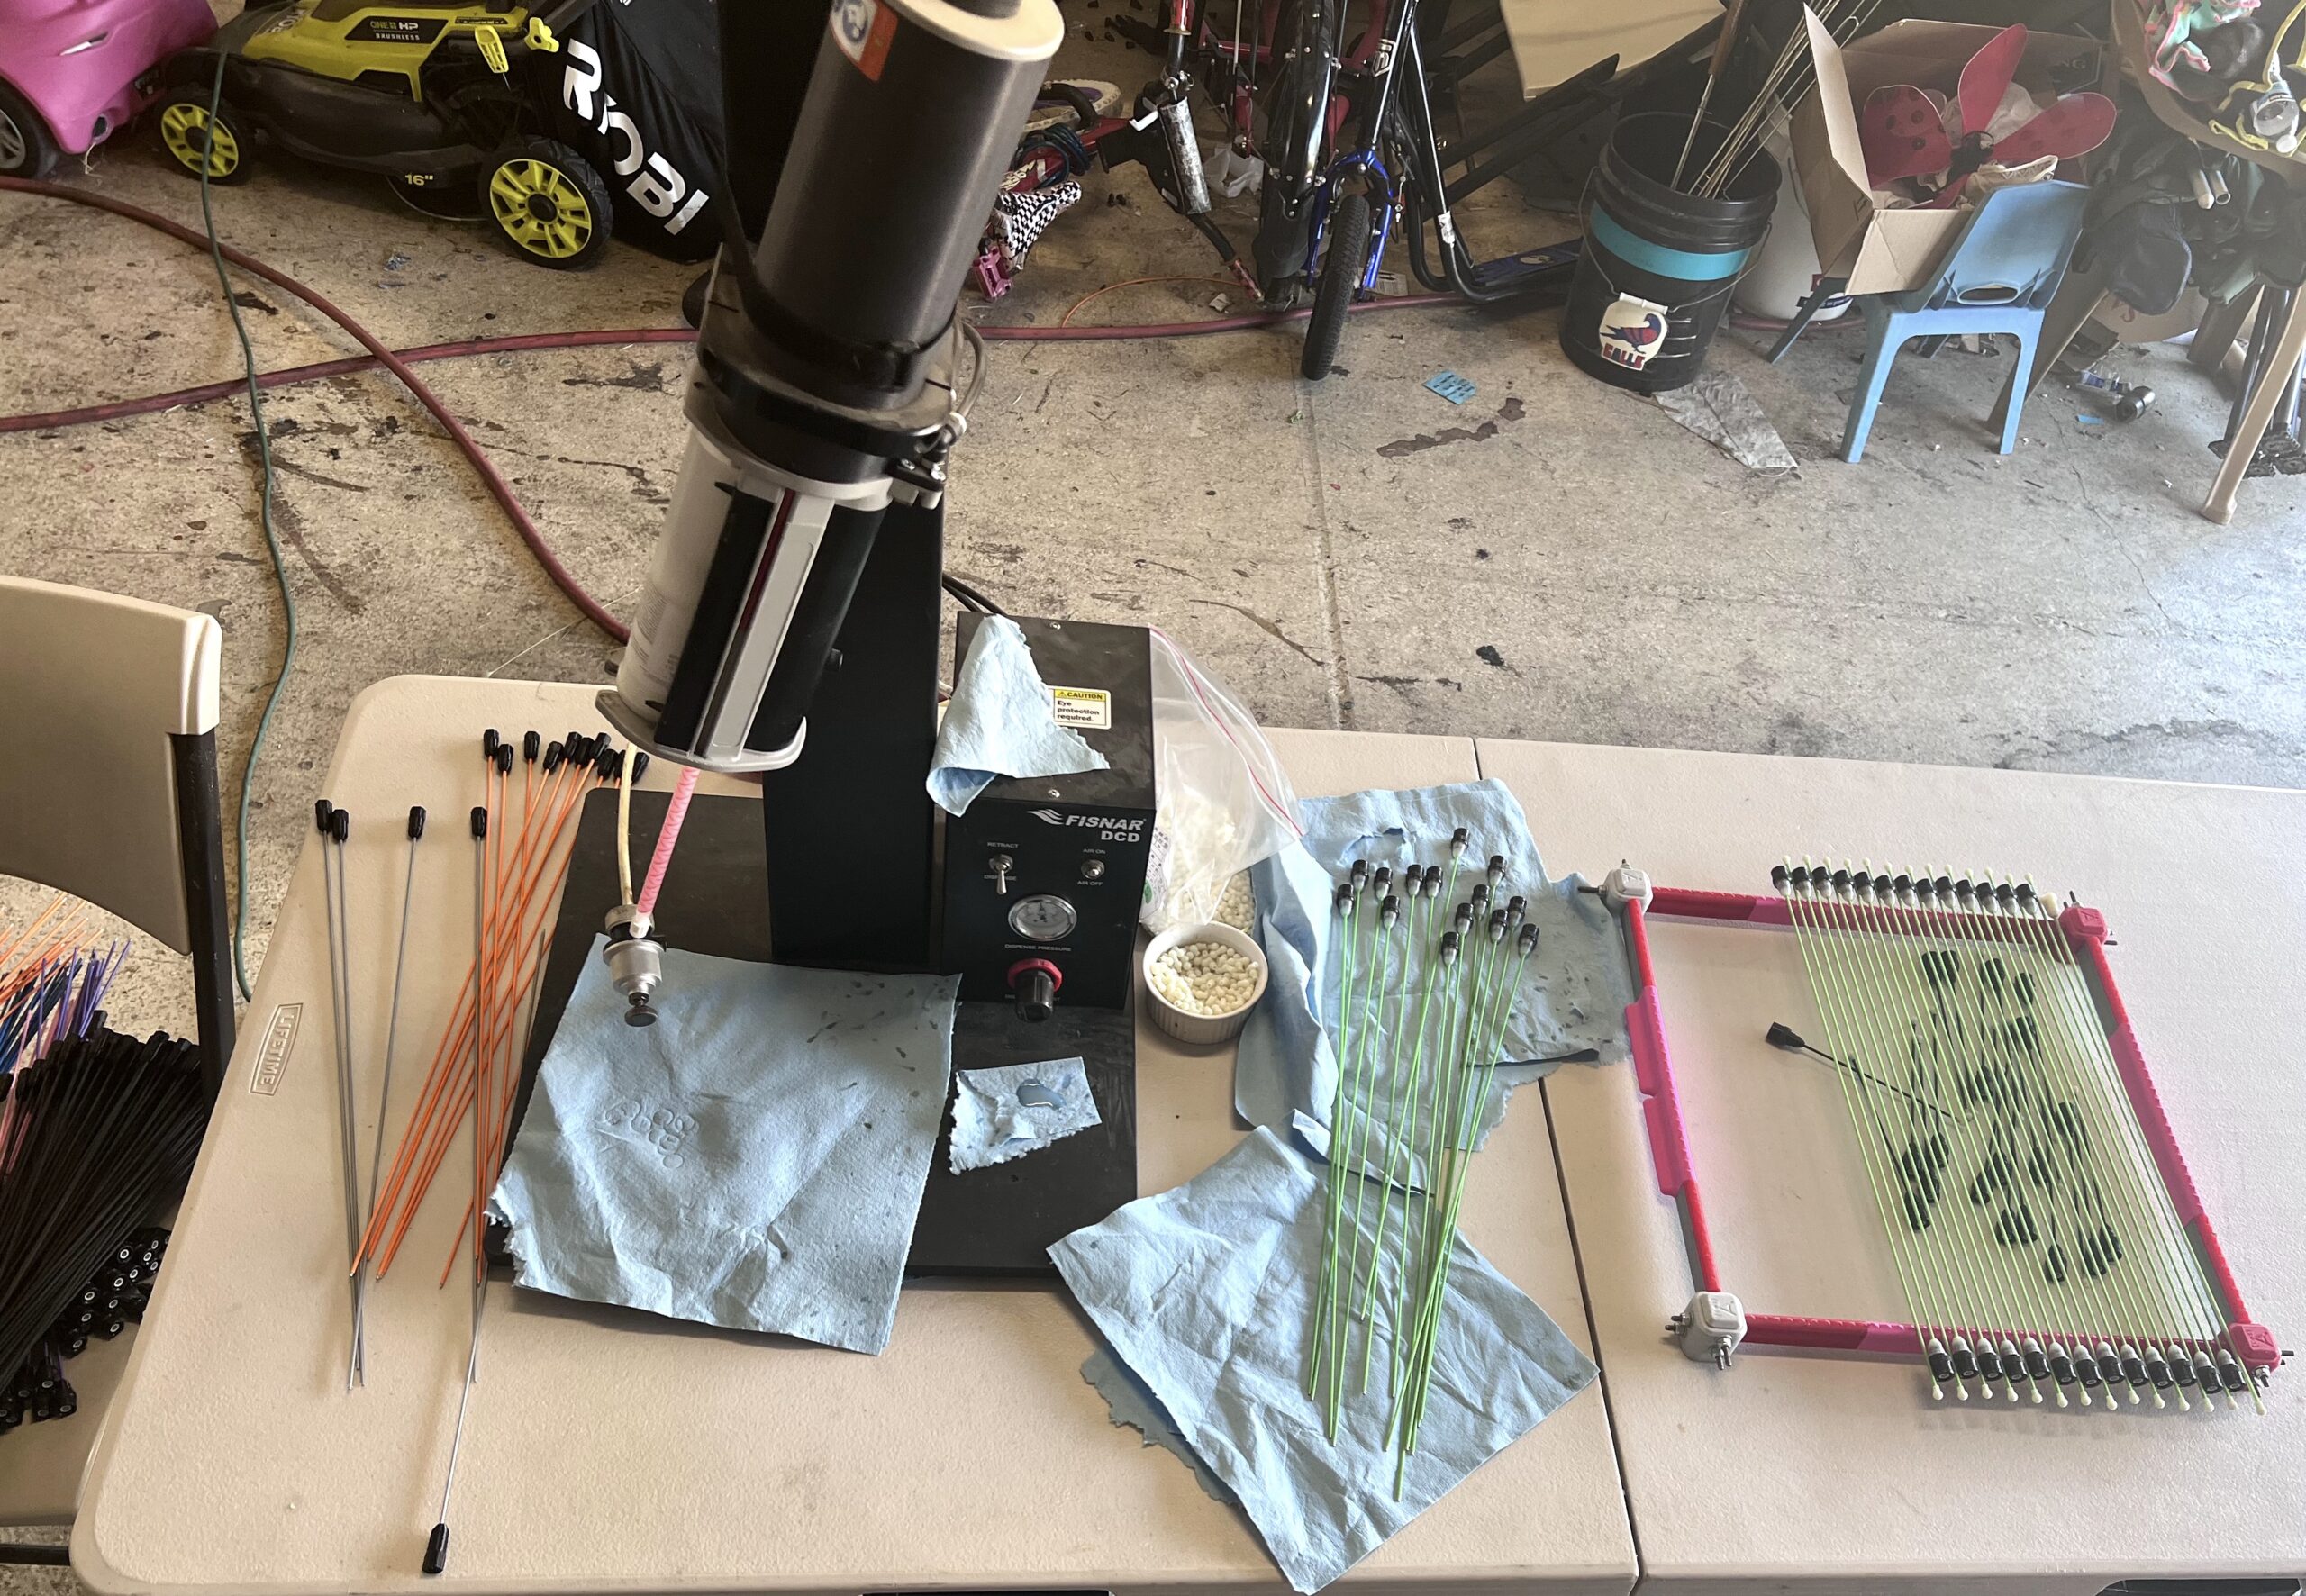
There are also two sides to this task — first, you need to inject the adhesive, and then you need to do any cleanup needed and also install the tips, which these days are also injection molded.
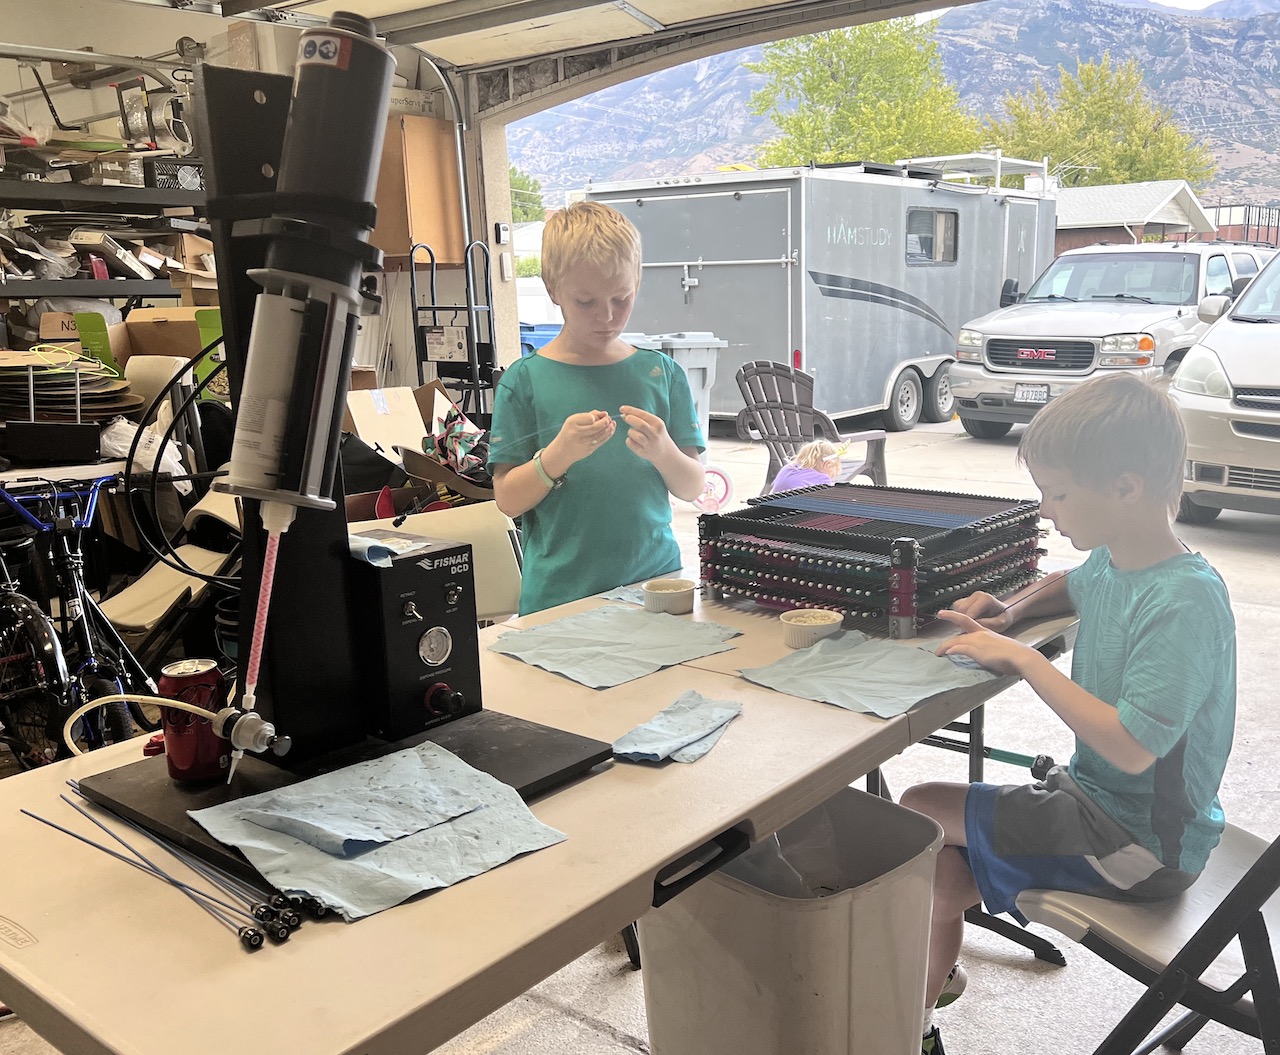
This is the step which benefits most from an extra pair of hands and fortunately I can usually get two of my children to help. I do the adhesive injection and part of the cleanup and they install the tips and then place them on the curing racks. Those racks, incidentally, are also custom designed and 3d printed =] You can even make your own with this model file!
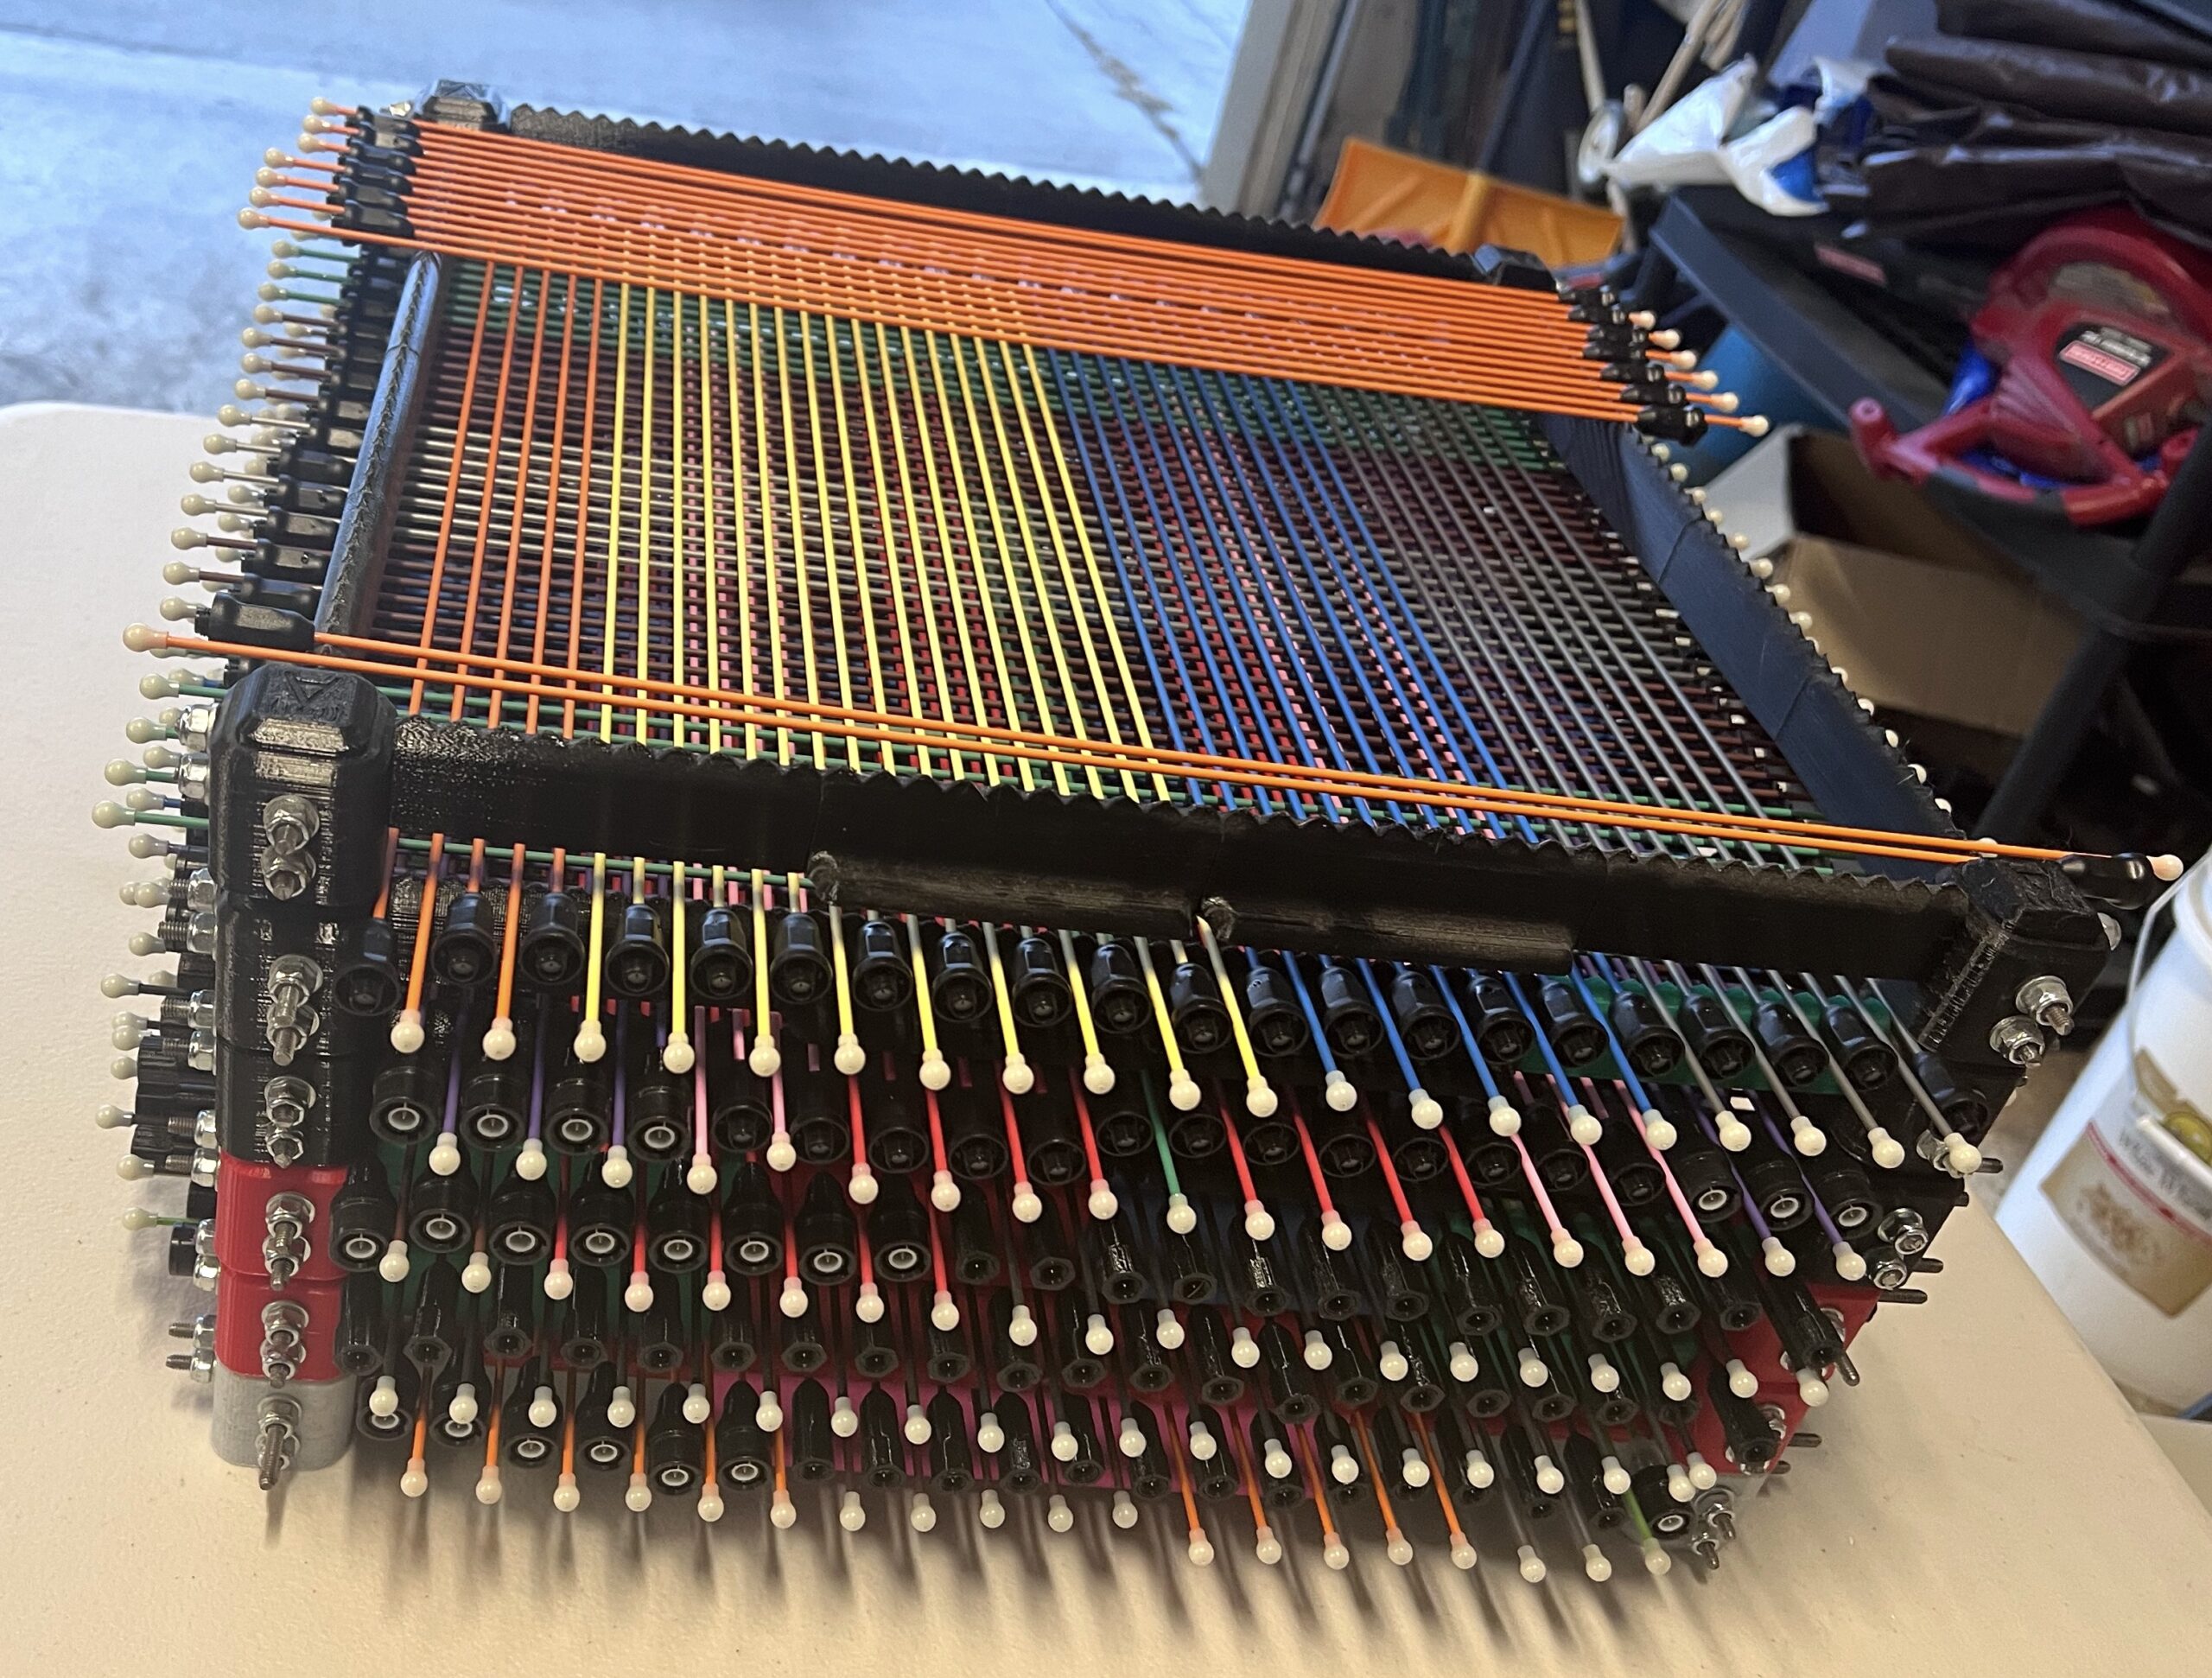

Back before COVID nearly all signal sticks were made during a volunteer-driven build night — 10-15 people would come over to my house and I’d feed them pizza while we made antennas. Everyone would leave with an antenna, a few with a door prize, and it was actually pretty fun. That’s been harder in the last few years, so I haven’t done it with more than a few people in quite some time, but the reason it is relevant is that we used to use pizza boxes to stack the antennas on because the box for a large pizza was just about the perfect size. Unfortunately, those were problematic to stack and could not be moved easily without antennas falling off.
With the new racks I can now move a whole stack of antennas out of the way so my loving and amazingly tolerant wife (Sariah, KC7KEI) can put her vehicle back in the garage; they also stack vertically.
The antennas need to cure for 12-24 hours and then they are ready for sale!
Shipping the antennas
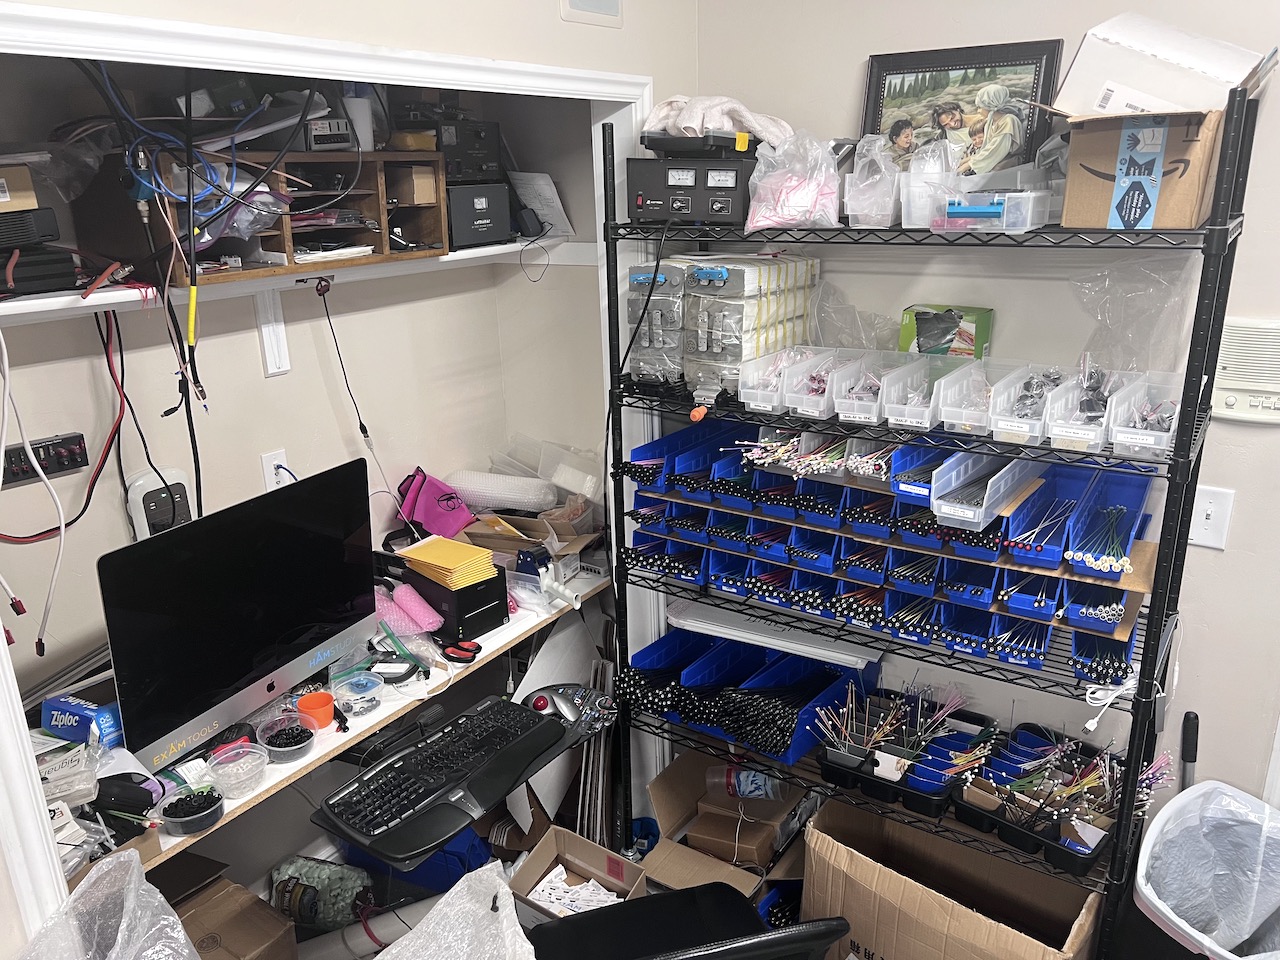
The last bit which may be interesting to you is the shipping. My oldest son Caleb (13yo) has been doing the shipping for me lately when time allows around school, but all of the antennas are stored on racks in my office to make it easy to locate.
Why I do this
With all of this, keep in mind that I am a computer software engineer — I’m not a manufacturing engineer and I’m neither an electrical nor an RF/antenna engineer. I honestly did not set out to build this into a company.
Many years ago I saw a need in the ham radio community for better tools around study and administration of ham radio license exams; I set out to try to help with that. For a lot of years it was something that I did purely in my “spare time” (hah, I have 5 kids… “spare time” indeed….) but in 2020 with remote exams I hit a point where I realized I just couldn’t keep this up without dedicating more time to it. Fortunately, by that point Signal Stuff sales had reached a point where I was able to drop to half time at my “day job” and have since that time worked on HamStudy / ExamTools / Signal Stuff part time as well. I still don’t have as much time for software as I’d like, but I hope that if Signal Stuff keeps growing I will eventually be able to do this full time =]
Thus if you place an order with Signal Stuff and I tell you I appreciate the support — that is not just a formulaic response! It really is all of you who support Signal Stuff that allow me to do the things that I really care about. At the same time, if you wonder why I don’t do things like custom antennas or why I don’t spend more time building new designs — it’s because I’d rather build new features into my software.
So there you have it! Feel free to ask questions in the comments; I’m sure I’ve missed things, but like most things I’ve rambled on longer than I intended, so I’ll leave it there for now!
73 all de KD7BBC