Assembling the Open Stub J-pole from S&K antenna systems
This antenna is pretty simple to assemble, but you do need a wrench to tighten it! Follow along with the photos below to assemble it.
Time required: ~15-20 minutes
Tools needed: Wrench
Tip: Click any image to view full-size version
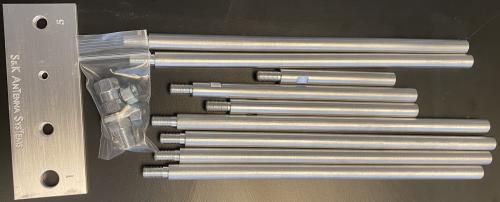
Check your parts
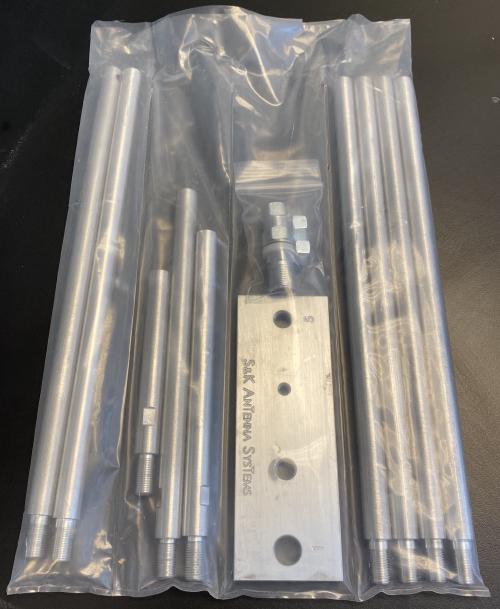
All parts fit in a bag 12" long by 6" wide!
Assemble the base
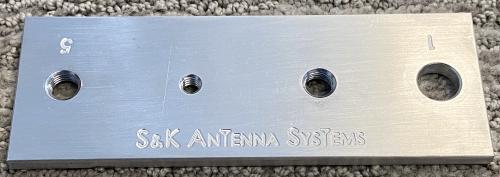
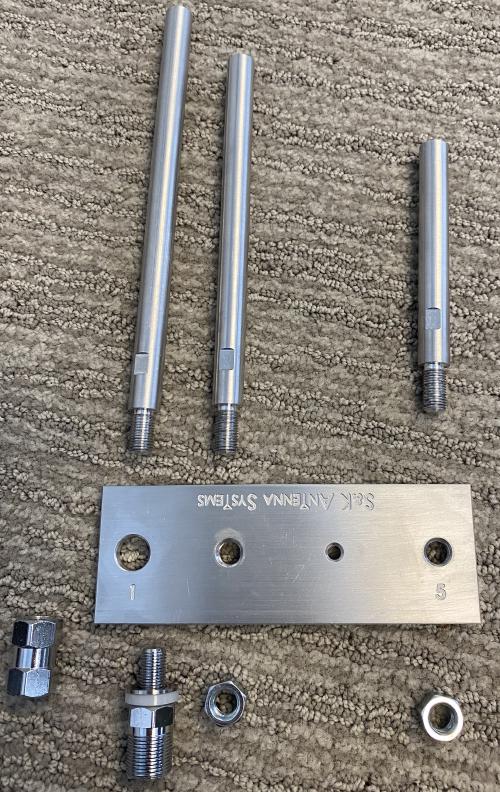
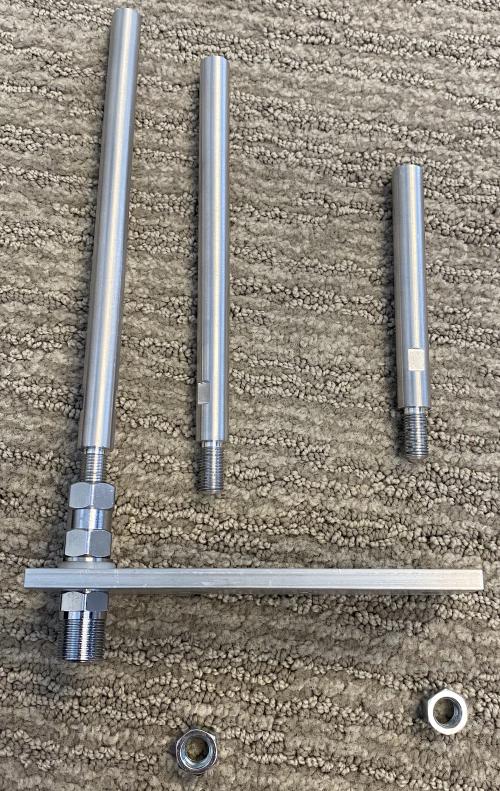
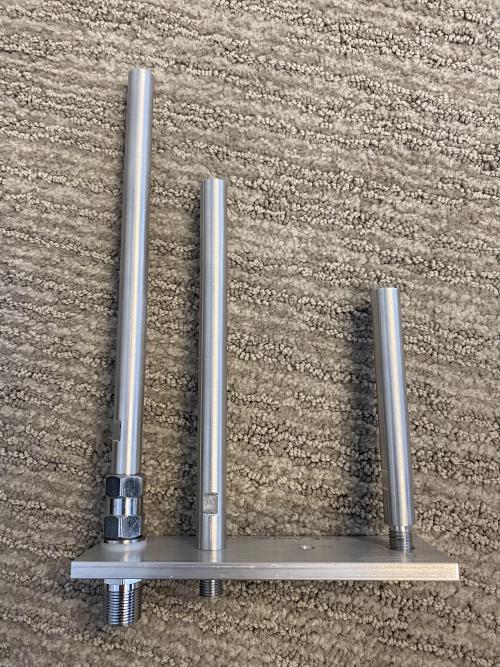
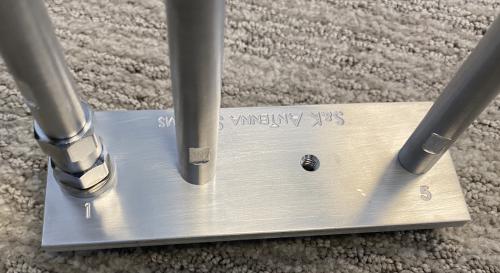
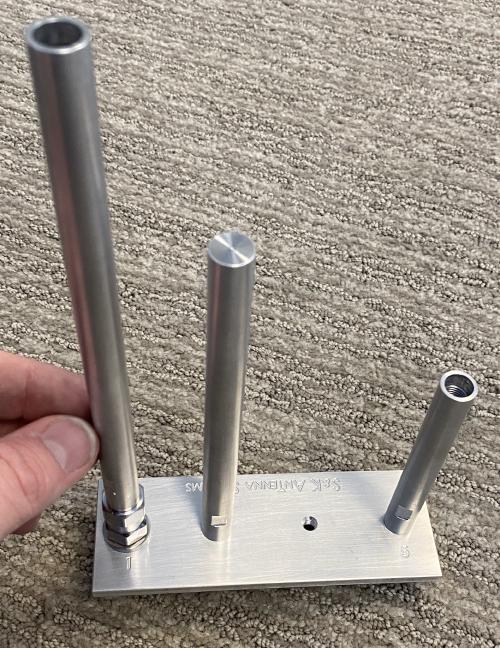
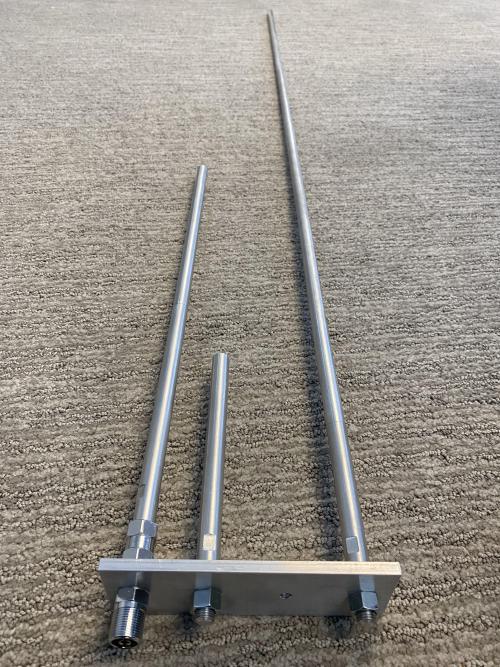
Here are the parts laid out approximately where they go. Note the position of “1” and “5” on the base, that indicates how many poles will attach on that side. Make sure you have the shortest open-end base piece by the “5” and the longest (of the non-standard length pieces) by the “1” (with the connector!). The short piece with a closed end goes in the middle.
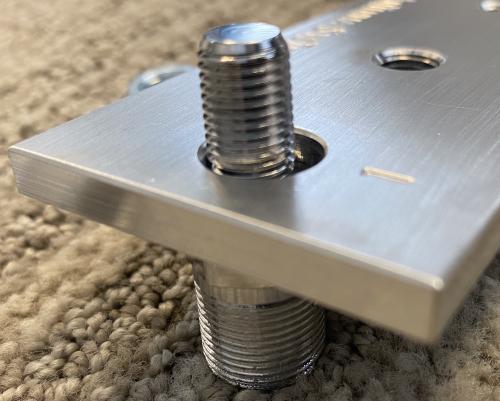
Insert the bottom half of the connector into the hole by the “1” stamp:
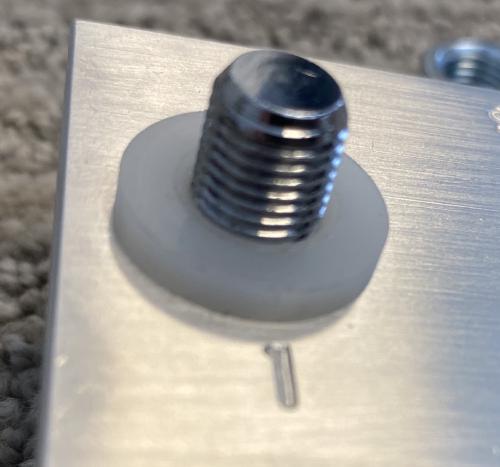
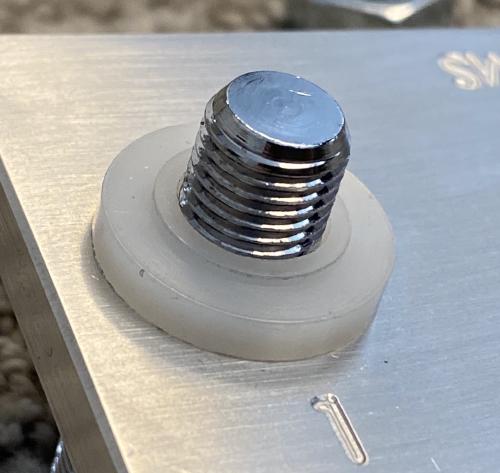
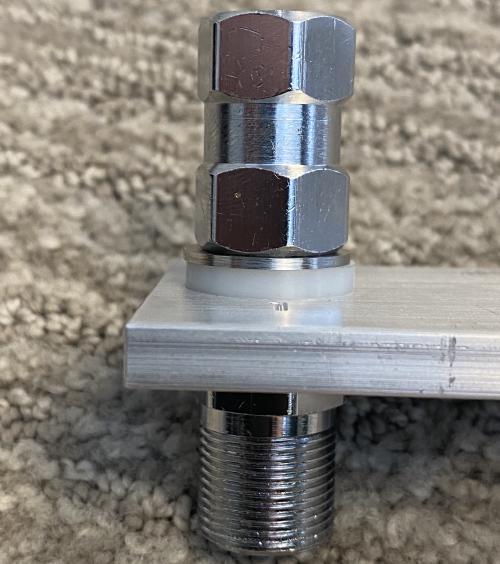
Add the plastic washer. There are two sides to the washer – one side is flat and the other has a ring that protrudes. THIS RING MUST BE DOWN (towards the bracket)! This is very important!
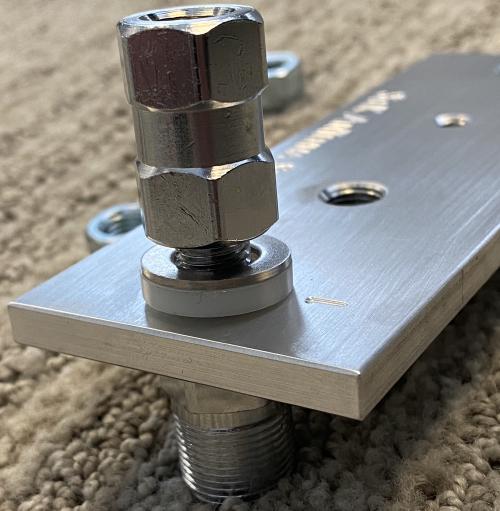
The metal washer goes over the plastic washer, then the top part of the connector screws on.
Go ahead and tighten the connector down so it can’t come apart.
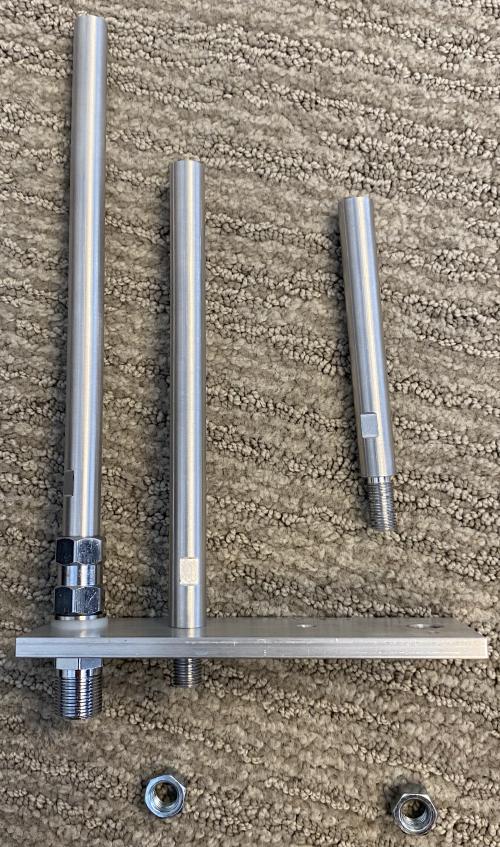
Insert the longest of the three base pieces (8 1/4 inches long) into the top of the connector, which should be on the side by the “1”.
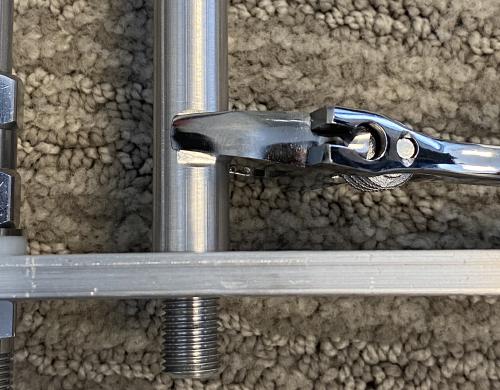
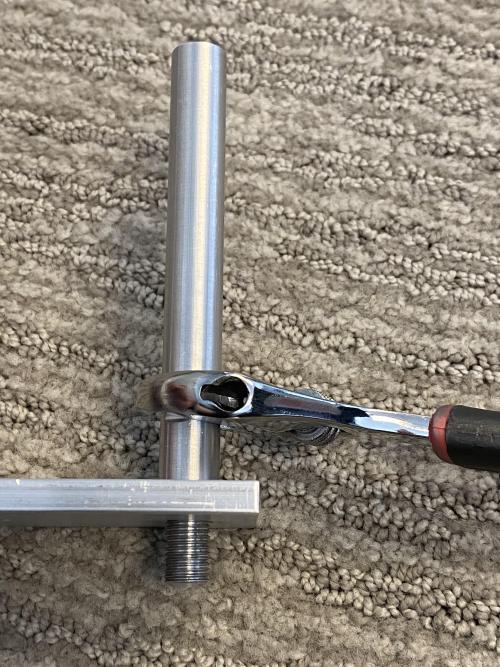
Screw it in and tighten, then insert the middle-length piece (with no opening on top) in the second hole. Remember these are all aluminum, a relatively soft metal, so never over-tighten! You don’t want it to come off, but it doesn’t require a lot of force
Tighten that as well.
The third and shortest piece goes in the third hole by the “5” stamp
You guessed it! Tighten that baby up as well.
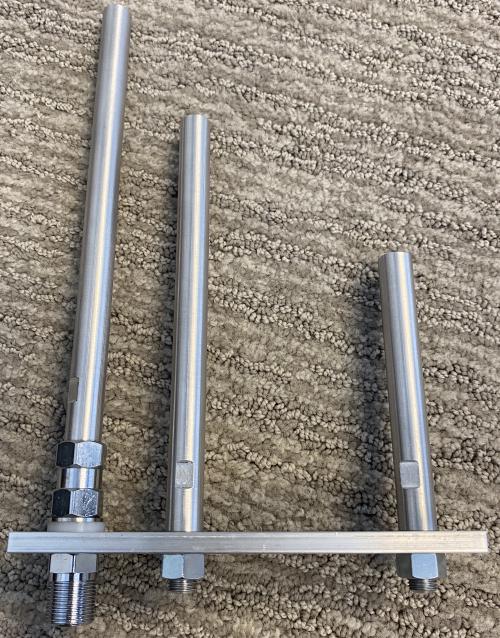
Add the nuts on the bottom and tighten those.
Congratulations! The hard part is done. This will generally not be taken apart at this point! Everything beyond here is for when you put it together to use; when you take it apart to transport you leave it at the stage it’s in now.
Assembly for use
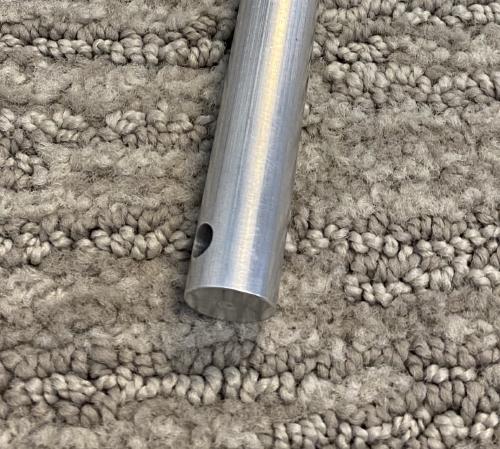
Once again, note the stamps; the “1” means you put one (1) piece above that. Make sure it doesn’t have an opening on the top. You should have two top pieces; one may have a hole through it, if so leave that for the taller side in case you want to hang it from something.
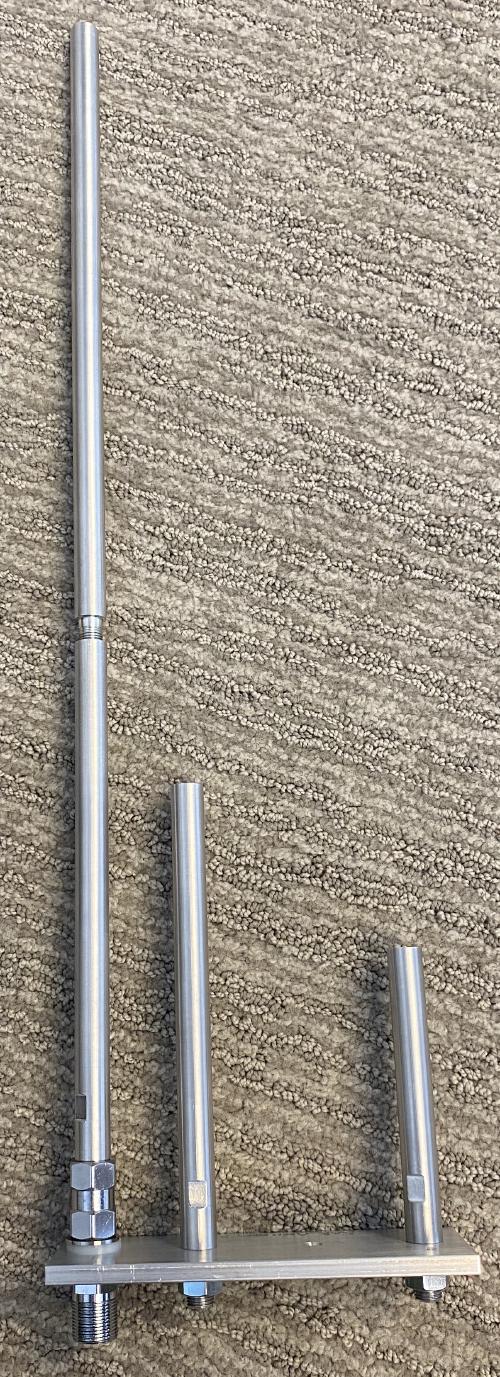
Locate the top piece (closed top) without a hole and insert into the connector above the “1”
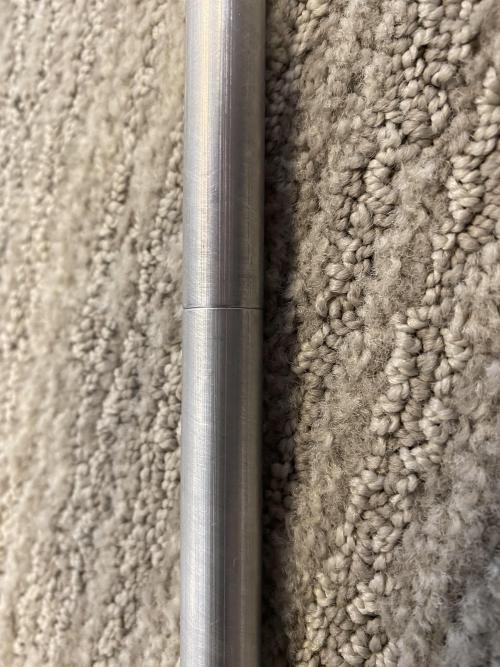
Screw the piece in and hand tighten it
Insert the rest of the pieces on the other side with the closed-end piece with the hole at the top!
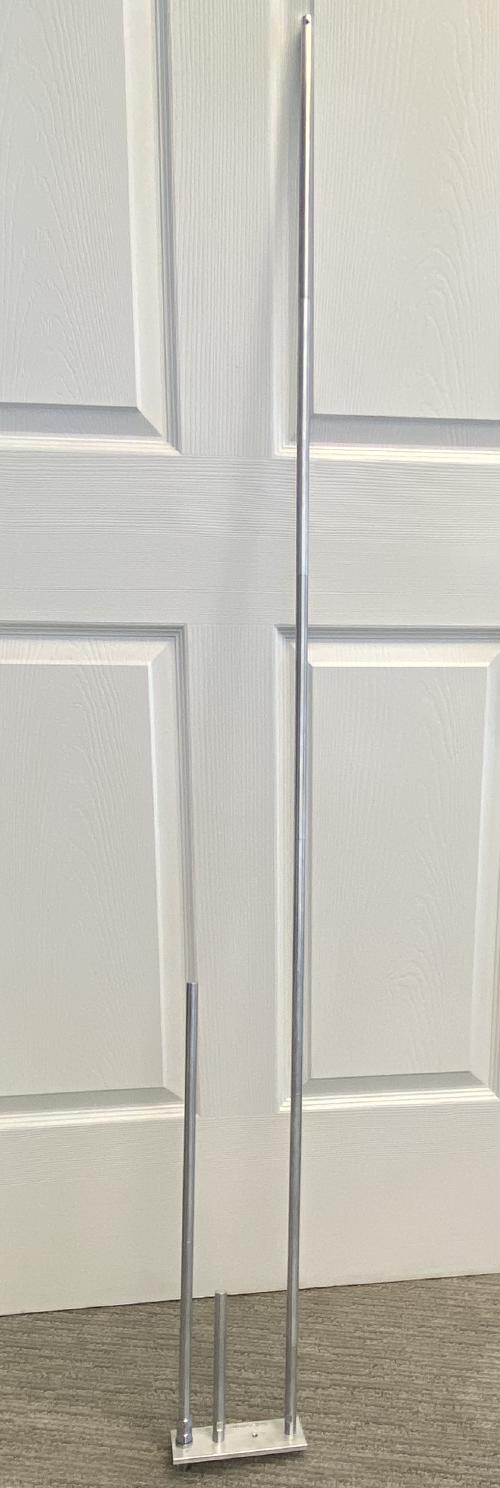
Enjoy! To collapse, disassemble in reverse order. Most people leave the base assembled, unless you need it really portable.
Mast-mount bracket
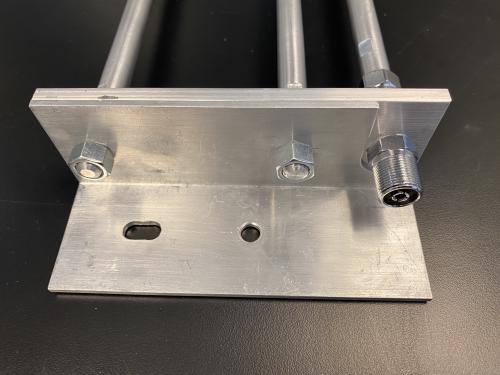
To install the mast-mount bracket simply remove the nuts from the bottom, slide the bracket on with the cutout around the connector, and tighten the nuts to hold it on!
NOTE: The newer brackets have an extra couple of holes to allow for more U-bolt sizes. It should fit a standard 1", 1.5", or 2" U-bolt from your local (US-based) hardware store.
